Need help? We're here!
(888) 312-8812 Login SignupHow to Replace the Pitman Arm on a Freightliner Columbia: A Step-by-Step Guide
December 03, 2024

December 03, 2024

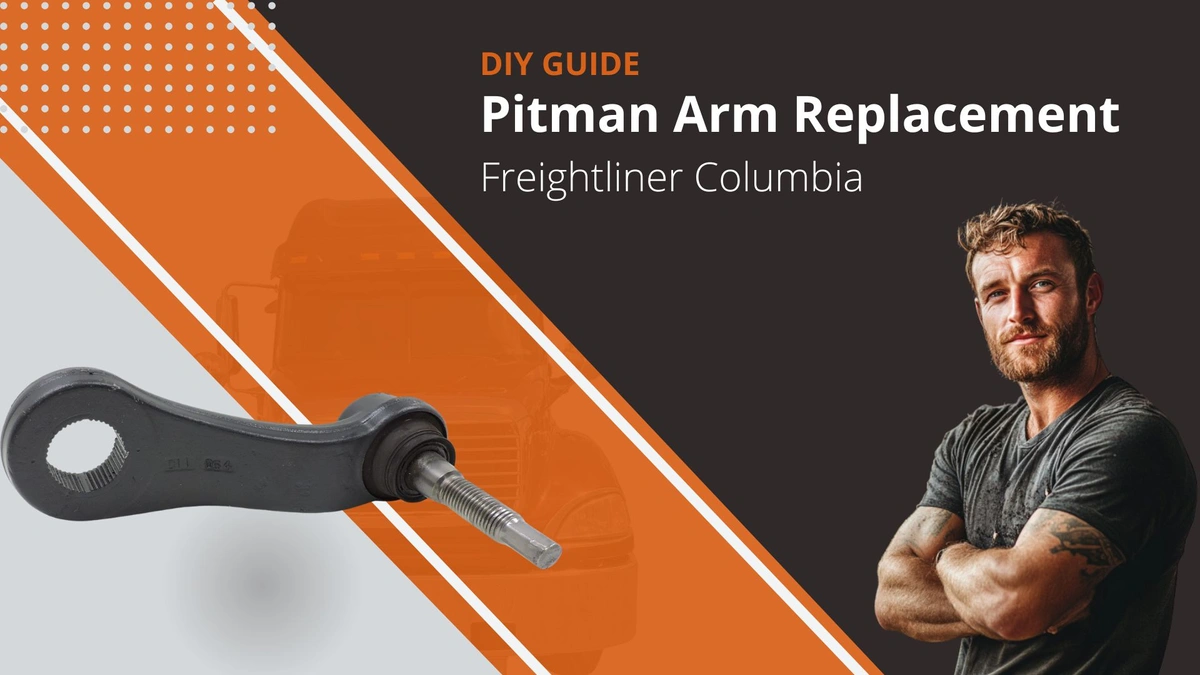
If your truck’s steering feels loose or has noticeable play, it may be time to replace the pitman arm. This part plays a crucial role in steering control, so keeping it in good condition is essential for safety. Follow our guide to change the pitman arm on a Freightliner Columbia with a TRW style. This step-by-step guide is ideal for truck drivers, fleet owners, and DIY-ers who want to save on repair costs by handling this essential maintenance themselves.
33 mm socket for the drag link nut
Locate the pitman arm at the end of the steering shaft. You’ll find a timing mark on the shaft and another on the new pitman arm; align these to ensure correct installation.
Remove the 3/4 inch pinch bolt using an inch-and-1/8 socket.
Take out the cotter pin from the drag link nut using a 33 mm socket.
If necessary, apply penetrating oil to help loosen any stuck parts.
Check for wear on the pitman arm teeth. If you notice significant wear or rounding, replacement is necessary to ensure a secure fit on the steering shaft.
Clean the steering shaft and pitman arm teeth using a screwdriver to remove rust or grease.
Apply a light coat of anti-seize on the teeth of the new pitman arm and a bit of grease on the drag link for easy reassembly.
Align the timing marks on the new pitman arm with the mark on the steering shaft.
Slide the new pitman arm into place, ensuring it’s aligned correctly, then install the new 3/4 inch grade 8 pinch bolt.
Tighten lightly but do not torque fully until the drag link is reattached.
With the pitman arm aligned, attach the drag link. Begin tightening, but stop short of full torque.
Confirm your truck’s specific torque specs. For TRW pitman arms, torque the pinch bolt to 200-220 ft-lbs, while the drag link nut typically requires 160-300 ft-lbs.
Use a torque wrench to first reach 200 ft-lbs, then adjust to the final torque requirement.
Align the cotter pin hole and insert a new cotter pin to secure the drag link nut.
Rotate the steering shaft to ensure there’s no play, indicating a tight fit.
Grease the pitman arm to maintain smooth movement.
Recheck all bolts after a few days of driving to ensure they remain secure.
Always use the correct torque specs for your truck model. Improper torque can lead to steering failure.
Wear eye protection and gloves when handling heavy components.
Loose Steering: If your steering feels loose, it may be time to replace the pitman arm. Regularly check for play in the steering shaft.
Corrosion on Teeth: Rust and wear on the pitman arm teeth reduce grip, which can lead to steering failure. Clean thoroughly and replace as needed.
Regularly inspect your pitman arm and drag link for wear or damage.
Grease all joints to keep components moving smoothly and prevent rust.
Replacing the pitman arm can be done efficiently with the right tools and attention to detail. For the highest quality parts, visit FinditParts to browse our wide selection of OEM and aftermarket pitman arms and steering components to keep your truck in peak condition. For a visual guide, watch DIYSEMI’s video on this replacement, and use DIYSEMI20 to get an exclusive discount!